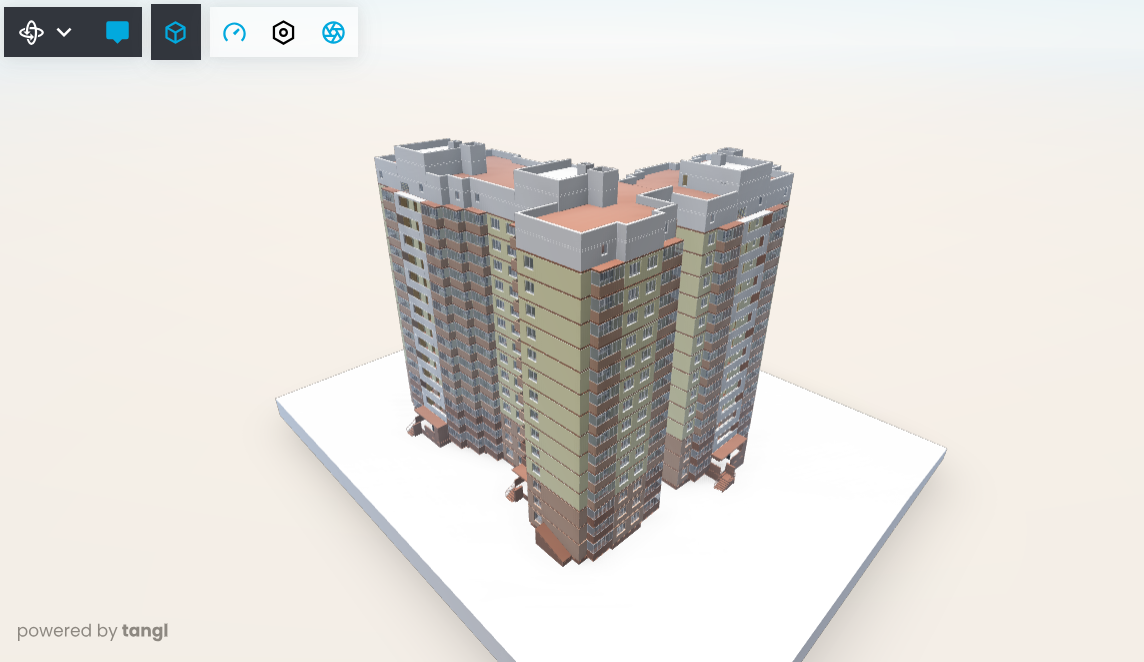
Making a basic application with an embedded viewer in 5 steps
Making a basic application with an embedded viewer in 5 steps

Let's look at the most minimal steps that might be required to make a browser-based application with an embedded Tangl viewer without any advanced features like UI, localization, extensions, work with element propertirs and so on.
Complete demo
You can download a complete app from the GitHub repository: https://github.com/tangl-services/tangl-dev/tree/main/tangl-demo-basic
Details
- Vite bundler
- No any web framework.
- Pure HTML and javascript
Project structure
The structure of the project is very simple. The project folder will contain only three files:
[tangl-demo-basic]
├─ [src]
├─── index.js
├─── functions.js
├─ index.html
├─ vite.config.js
└─ package.json- vite.config.js - Vite config file.
- index.html - entry point, HTML markup with viewer DOM container.
- index.js - basic code for initializing the viewer and loading the scene.
- functions.js - functions with requests to Tangl servers to get the necessary data.
- package.json - project description and dependencies for the development environment and syntax highlighting.
Setup project and dependencies
The project requires a few basic dependencies that need to be added to package.json:
{
    ...
    "main": "./src/index.js",
	"scripts": {
		"dev": "vite",
		"build": "vite build --emptyOutDir"
	},
	"dependencies": {
		"axios": "^1.6.5",
		"tangl-viewer": "^0.3.4",
		"three": "^0.161.0"
	},
	"devDependencies": {
		"vite": "^5.0.12"
	}
}
To use the viewer, you must import its library (
tangl-viewer) as well as the three library, since the viewer library does not export it. This is done to prevent conflicts between the different versions of three.js used in the viewer and in our application.
To build with Vite, you need to create a standard vite.config.js file:
import {defineConfig} from "vite";

export default defineConfig(
    {
        server: {
            port: 3000,
            strictPort: false,
        },
        build: {
            target: "ES2022"
        },
    }
)