Points API
Points API
This article will describe the process of creating and managing points in a scene.
Points API allows you to create different kinds of point objects in a scene. On the one hand a point is the simplest object in 3D, but on the other hand it can be very different, look different and have different properties.
The purpose of using points
The use of dots has several purposes. For example:
- Use in tools as auxiliary graphics (for example: measure points or axis grid bubbles):
- Use as controls for movement:
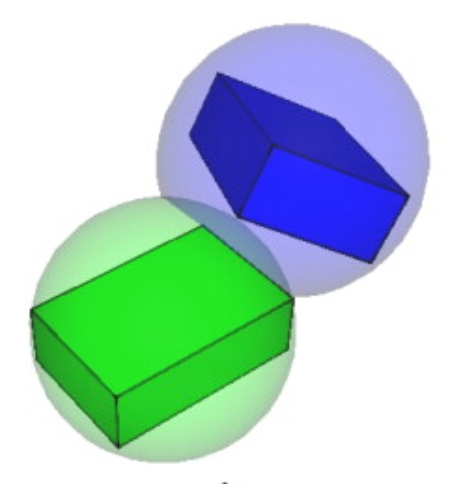
- Using as visualization of areas or protective zones around objects or locations:
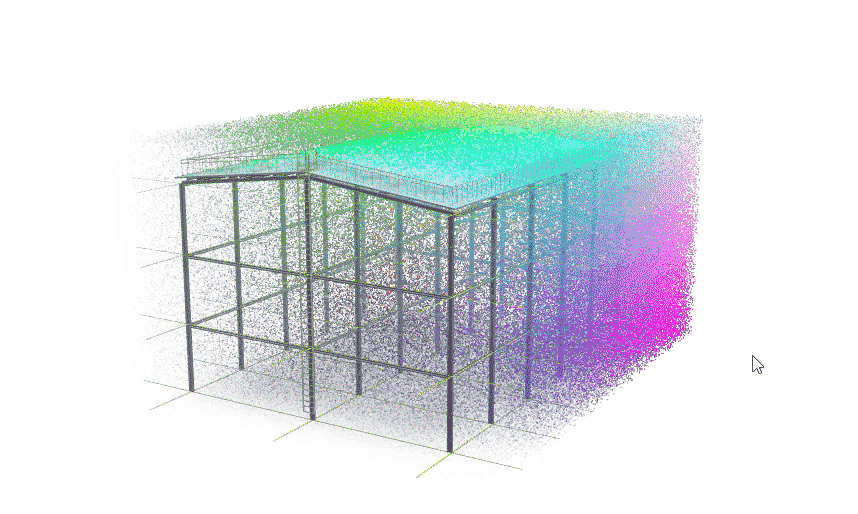
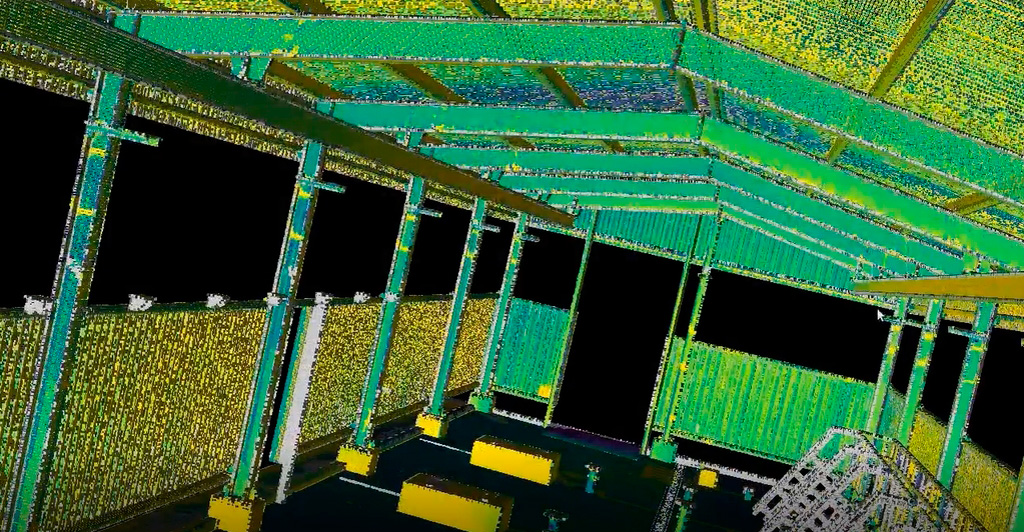
- Using as visualization of point clouds:
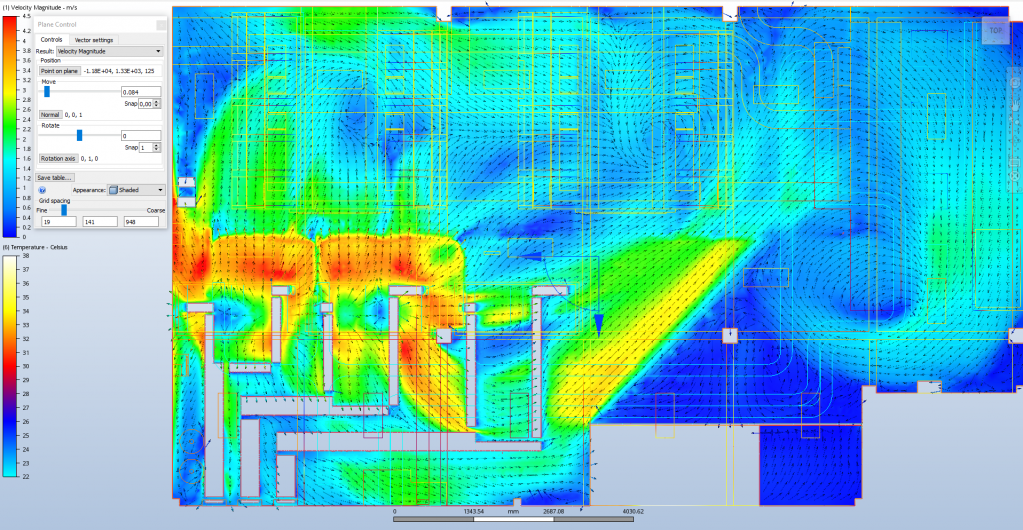
- Using as visualization of fields:
- and so on…
Properties of points
Each point or group of points has certain properties.
Individual point properties
- Position- individual point coordinates
- Color - individual point color
- Transparency - individual point transparency
- Size - point size in screen space or in model space
Group of points properties
Properties for groups of points are set via material properties ScreenPointsMaterial and ScreenPointsMaterialParameters:
- сolor - base color for points. The individual color of the points will be mixed with the base color.
- worldUnits - size unit mode. If true then points size in real space units else in screen space units.
- depthTest - ability for processing depth test for points. If the depth test is not performed, then the points will be drawn on top of the rest of the geometry.
- transparent - ability for points transparency. Semi-transparent dots may be slower to draw.
- reduceNearScreenSize - distance from camera for reducing near points screen size when worldUnits = true. Useful for a large number of densely spaced points.
The Points API allows you to work with each individual point, as well as with a large array of points. It can be high-performance.
Learning extension
Let's create a learning extension called MakingGeom1Extension extends ExtensionBase. Let's start with the code that will be the blank:
import {
	ExtensionBase,
} from 'tangl-viewer';
expo
rt class MakingGeom1Extension extends ExtensionBase {
  static getName = (): string => "making-geom-1";

  added() {
  }

  deleted() {
  }
}
Creating a single point
The base class that works with points is called ScreenPoints. It defines a new group of points. However, by default only one point is created in the group.
Create a point object as extension field:
import {
	ExtensionBase,
	ScreenPoints, ScreenPointsMaterial, ScreenPointsMaterials
} from 'tangl-viewer';

export class MakingGeom1Extension extends ExtensionBase {
...
  point = new ScreenPoints()
...
}
We will not add point objects to the main scene along with the model, but add them to the sub scene.
To make a point appear on this scene, we will add it to RenderManager.subScene. This scene is for auxiliary geometry that is not part of the model.
Add a point to the scene in the added() extension hook:
added(): void {
const renderManager = this.getRenderManager();
renderManager.subScene.add(this.point)
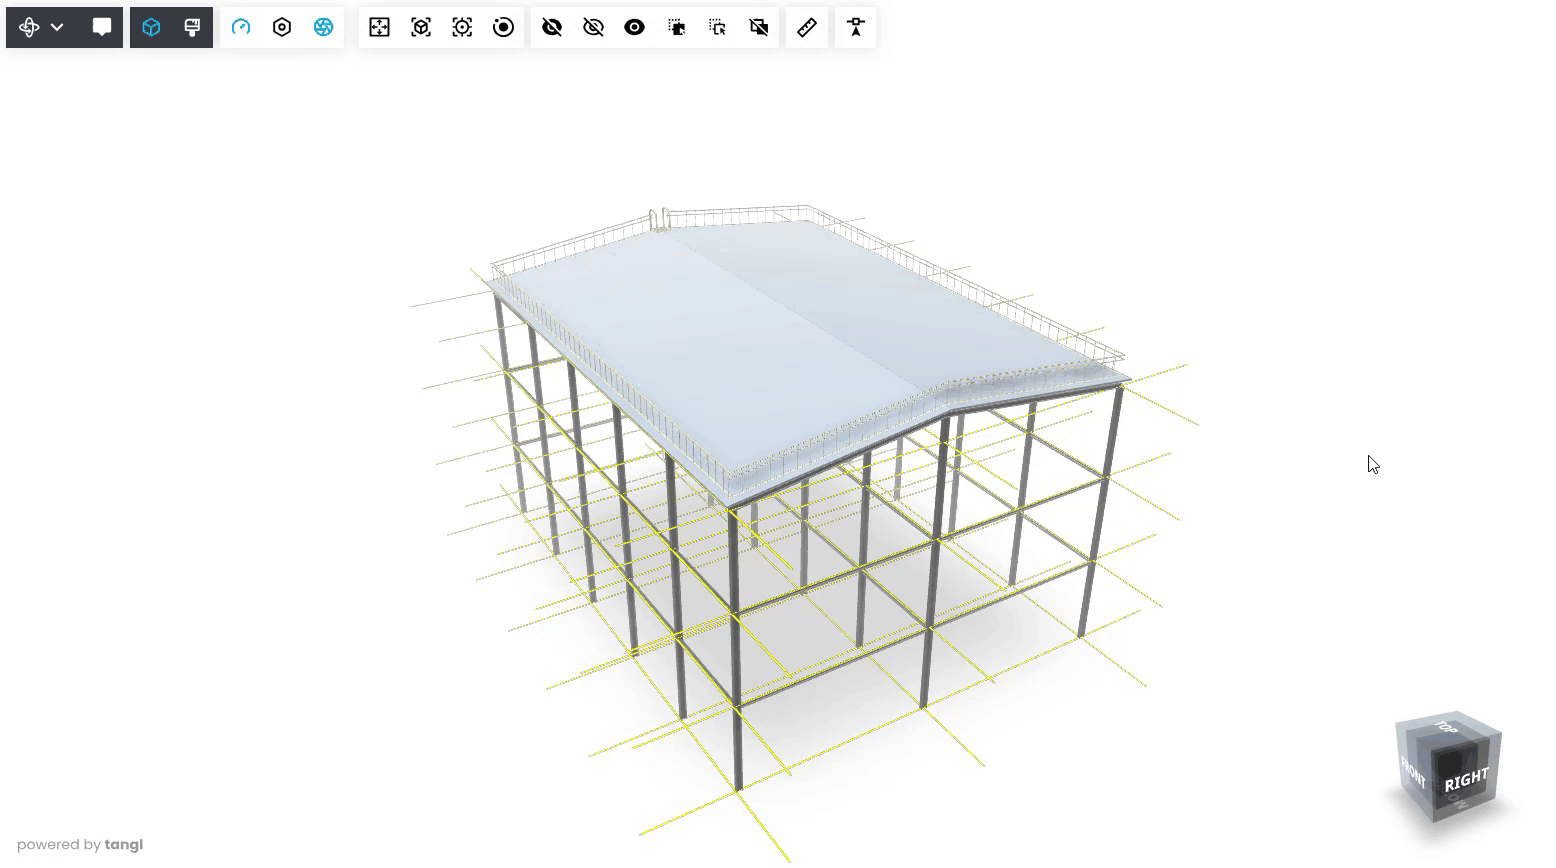
}By default, the point will be black, standard size and will be located at coordinates {0,0,0}. And the point will also be visible through the elements of the model. Because her depth buffer is disabled by default.
Result:
To control the depth buffer, you need to set the point material. You can create your own material or use two types of default material:
ScreenPointsMaterials.defaultScreenUnitsMaterial and ScreenPointsMaterials.defaultWorldUnitsMaterial.
In the constructor of the ScreenPoints object we can also explicitly set the quantity of points in our group.
The fill() function sets the default color, transparency, and point size.
import defaultWorldUnitsMaterial = ScreenPointsMaterials.defaultWorldUnitsMaterial;

export class MakingGeom1Extension extends ExtensionBase {
	static getName = (): string => "making-geom-1";
	point = new ScreenPoints(1, defaultWorldUnitsMaterial).fill("red", 0.5, 0.1)
...
}
Creating an array of points
In order to create a group of multiple points, when creating a Screenprint object, specify the maximum number of points that will be contained in this group. This is due to the fact that when creating an object in video memory, space is immediately allocated for the required amount.
import defaultWorldUnitsMaterial = ScreenPointsMaterials.defaultWorldUnitsMaterial;

export class MakingGeom1Extension extends ExtensionBase {
	static getName = (): string => "making-geom-1";
	point = new ScreenPoints(10000, defaultWorldUnitsMaterial).fill("#ff0000", 0.5, 0.1)
...
}
After creating an object with a set of points, you may not see anything on the screen, unlike our first example, when we created a single point.
This is done on purpose, because when we create one point, we obviously plan to work only with it, but when we create many points, then most likely we will not use them all at once.
Therefore, despite the fact that we have created a group of 10,000 points, so far 0 points are being drawn. In addition, they all have the same coordinates {0,0,0}.
There are several ways to activate the rendering of the required number of points.
Changing the quantity of points to be drawn
You can change the quantity of points to be drawn using the property ScreenPoints.geometry.pointsCount.
The geometry property is an instance of the ScreenPointsGeometry object, which stores the geometry of points in video memory.
added(): void {
  const renderManager = this.getRenderManager();
  this.point.setPointsCount(10);
  renderManager.subScene.add(this.point)
}
In this example, we set the number of rendered points to 10.
Filling positions of rendered points
There are several functions for filling positions as well as the color and transparency of points:
ScreenPoints.setPositions(), ScreenPoints.setColors(), ScreenPoints.setSize().
For the convenience of generating a large point cloud, we will create a separate genPointCloud() function, as well as a separate field that will contain their total number:
export class MakingGeom1Extension extends ExtensionBase
{
  pointCounter = 100000;
  ...
   genPointCloud(){
   }
  ...
}
We will also add a function for using a random:
const randomNumber = (min:number, max:number) => Math.random() * (max - min) + minRandom coordinates are generated within the boundaries of the scene. Next, the values of the colors for the point are calculated based on its position relative to the boundaries of the scene. Then the coordinates of the point and its color are added to the corresponding arrays. The obtained coordinates of the points and colors are set to the geometry of the points for further rendering.
getPointCloud() {
 const renderManager = this.getRenderManager();

 const sceneManager = renderManager.sceneManager;
 const sceneBox = sceneManager.sceneBox;

 const { min, max } = sceneBox;
 const points = [] as number[];
 const colors = [] as number[];

 for (let i = 0; i < this.pointCounter; i++) {
   const x = randomNumber(min.x, max.x);
   const y = randomNumber(min.y, max.y);
   const z = randomNumber(min.z, max.z);

   const r = (x-min.x) / (max.x - min.x);
   const g = (y-min.y) / (max.y - min.y);
   const b = (z-min.z) / (max.z - min.z);
   const a = (x-min.x)/(max.x-min.x);

   points.push(x , y , z )
   colors.push(r, g, b, a)
 }

 this.point.setPositions(points)
 this.point.setColors(colors)
 renderManager.requestUpdate()
}
Changing the point size mode near the camera
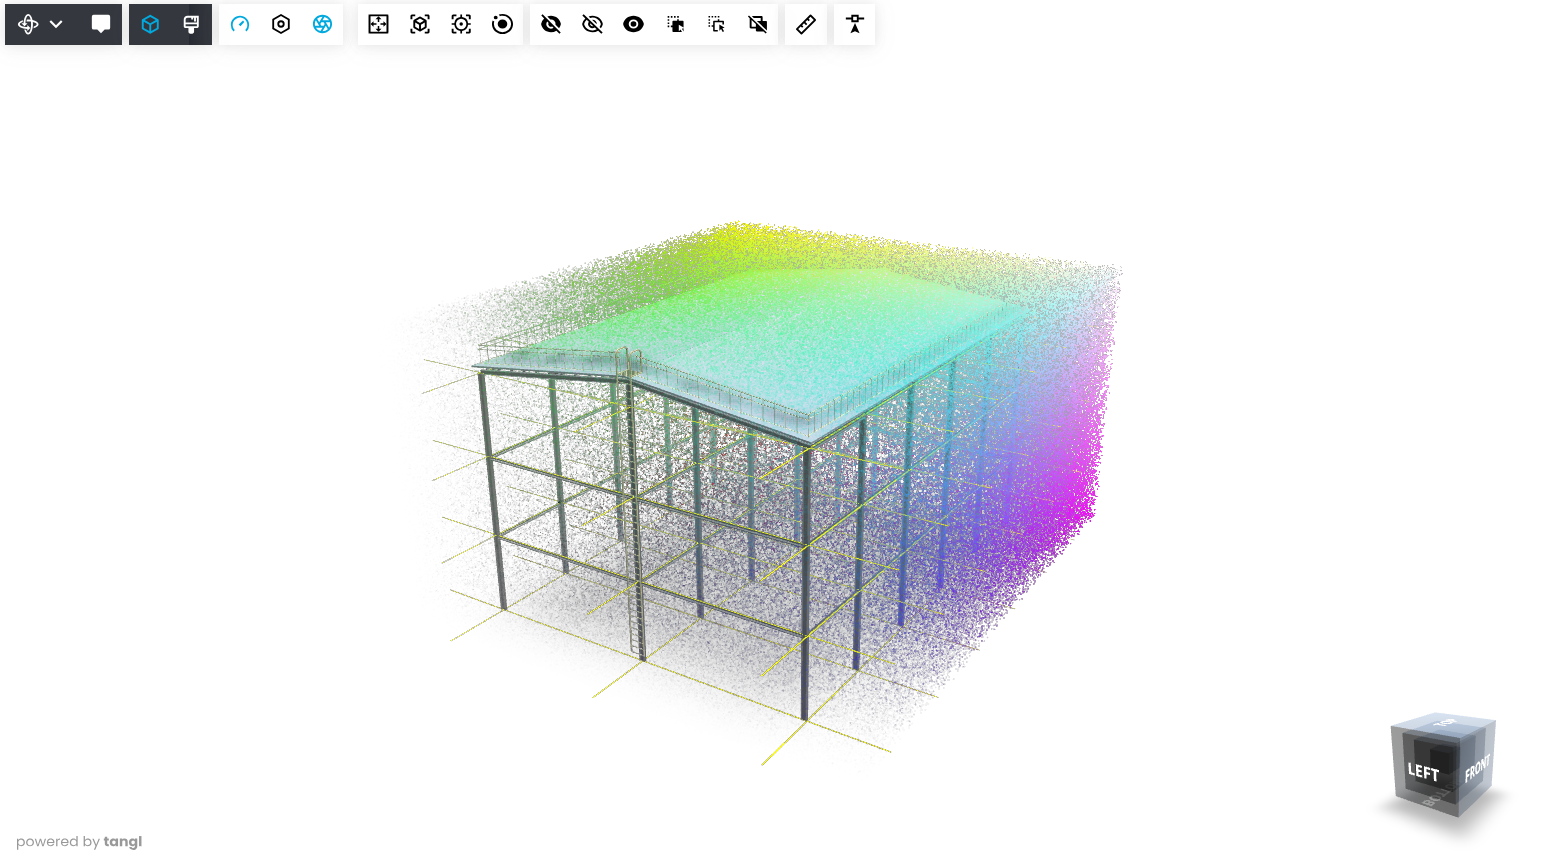
Then we will create our own point material in ScreenPointMaterial(), add the worldUnits and reduceNearScreenSize parameters to it. We will set the second value to 10 meters, so that when approaching the object, the points decrease and disperse in front of the camera.
const mat = new ScreenPointsMaterial({worldUnits: true, reduceNearScreenSize: 10})
const randomNumber = (min:number, max:number) => Math.random() * (max - min) + min
export class MakingGeom1Extension extends ExtensionBase {
static getName = (): string => "making-geom-1";
pointCounter = 100000;
point = new ScreenPoints(this.pointCounter, mat).fill("red",0.5, 0.1)
constructor(viewerName: string) {
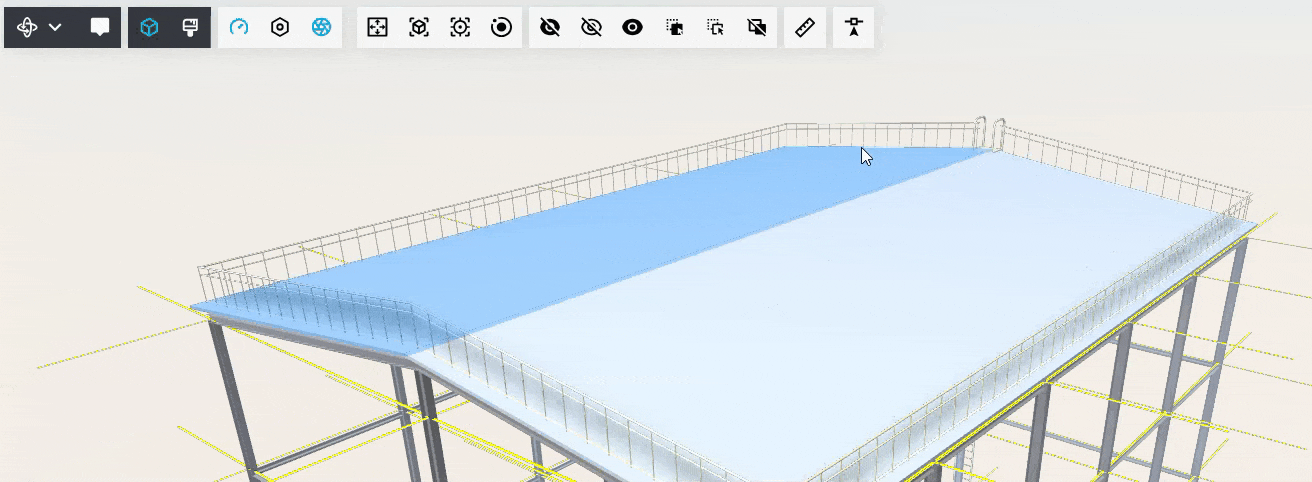
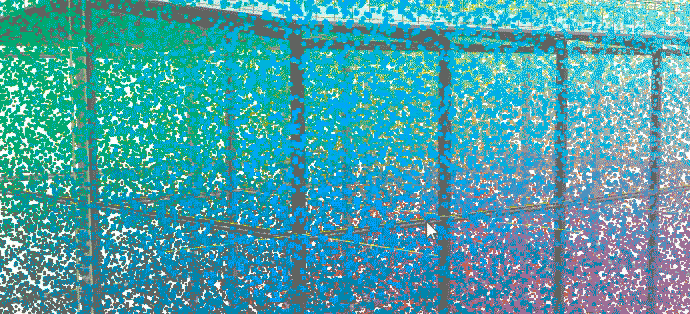
super(viewerName);Without adding these parameters, the dots will crash into the camera and will not decrease as the camera approaches:
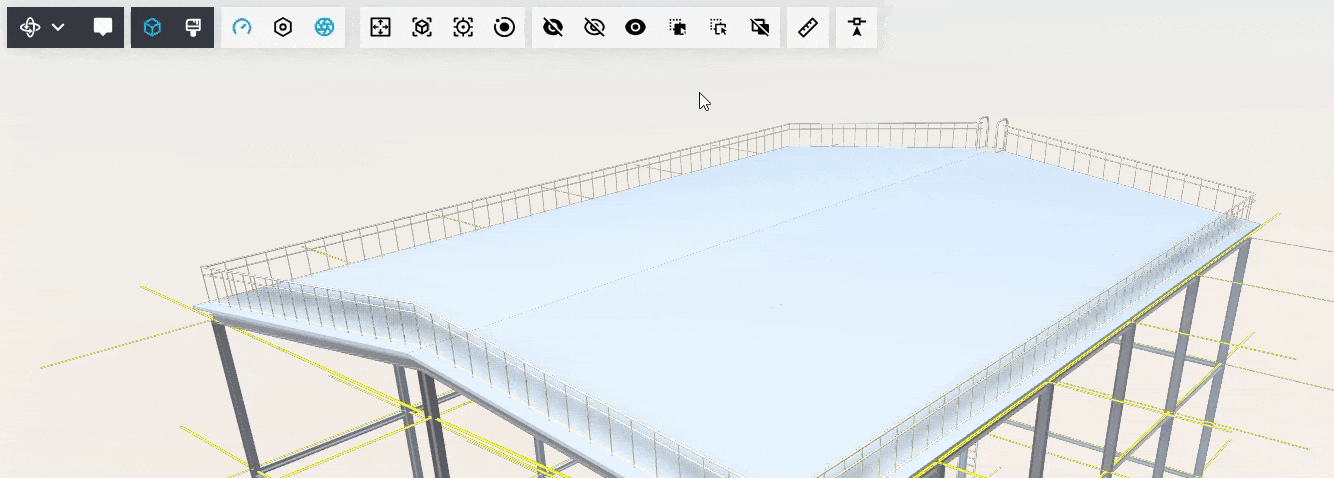
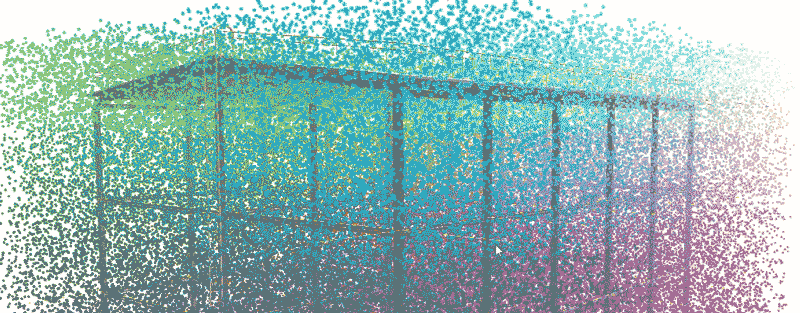
When you add these parameters, the dots will scatter in front of the camera:
The whole code of this example looks like this:
 import {
 ExtensionBase,
 SceneEvents,
 ScreenPoints, ScreenPointsMaterial, ScreenPointsMaterials
} from 'tangl-viewer';
import defaultWorldUnitsMaterial = ScreenPointsMaterials.defaultWorldUnitsMaterial;

const mat = new ScreenPointsMaterial({worldUnits: true, reduceNearScreenSize: 10})
const randomNumber = (min:number, max:number) => Math.random() * (max - min) + min

export class MakingGeom1Extension extends ExtensionBase {
 static getName = (): string => "making-geom-1";
 pointCounter = 1000000;
 	point = new ScreenPoints(this.pointCounter, mat).fill("red",0.5, 0.1)

 constructor(viewerName: string) {
 super(viewerName);
 }

 genPointCloud() {
 const renderManager = this.getRenderManager();
 const sceneManager = renderManager.sceneManager;
 const metaManager = renderManager.metaManager;
 const sceneBox = sceneManager.sceneBox;
 const { min, max } = sceneBox;
 const points = [] as number[];
 const colors = [] as number[];
 for (let i = 0; i < this.pointCounter; i++) {
 const x = randomNumber(min.x, max.x);
 const y = randomNumber(min.y, max.y);
 const z = randomNumber(min.z, max.z);

 const r = (x-min.x) / (max.x - min.x);
 const g = (y-min.y) / (max.y - min.y);
 const b = (z-min.z) / (max.z - min.z);
 const a = (x-min.x)/(max.x-min.x);

 points.push(x , y , z )
 colors.push(r, g, b, a)
 }
 this.point.setPositions(points)
 this.point.setColors(colors)
 renderManager.requestUpdate()

 added(): void {
 const renderManager = this.getRenderManager();
 renderManager.subScene.add(this.point)
 renderManager.sceneManager.addAutoEventListener(SceneEvents.AllLoaded, () => {
 this.genPointCloud();
}
 deleted(): void {
 }